Save Money by Making Your Own Bread at Home

Imagine standing in the bread aisle of your local grocery store, staring at a loaf of whole wheat bread that costs nearly $4.00. Now, imagine that same loaf contains high fructose corn syrup, preservatives to keep it "fresh" for weeks, and a list of ingredients you can't even pronounce. This post covers why making your own bread at home is one of the fastest ways to slash your weekly grocery bill while taking full control over what goes into your family's bodies. We'll look at the cost breakdown, the basic tools you actually need, and how to master a simple no-knead recipe that works even if you aren't a pro in the kitchen.
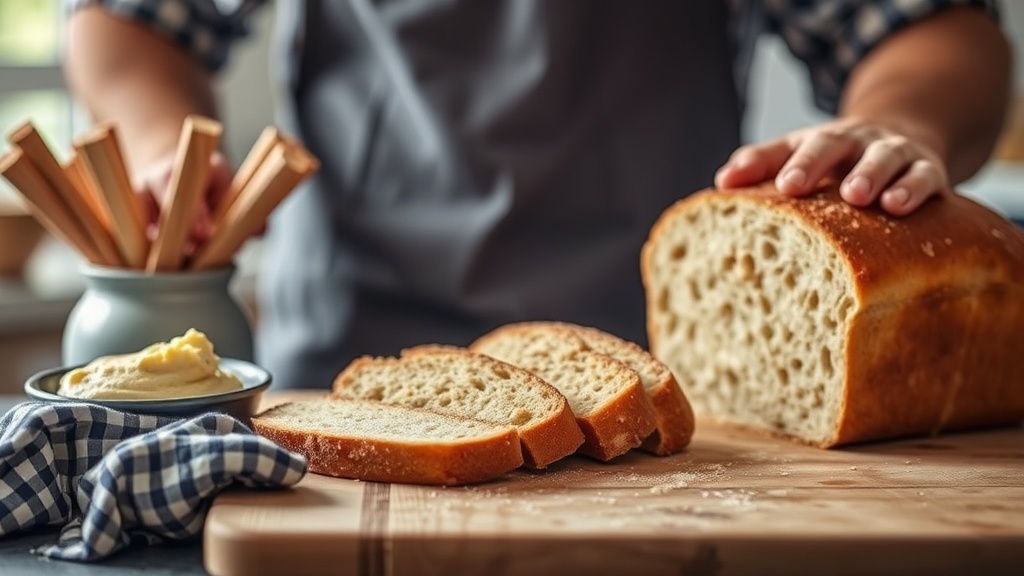
Bread is a staple in my house. My three kids go through loaves like they're going out of style, and as a former dental hygienist, I'm always a little wary of the hidden sugars in store-bought sandwich bread. When you make it yourself, you aren't just saving money; you're choosing the quality of the grain and the amount of salt.
How Much Does It Cost to Make Bread at Home?
Making a standard loaf of homemade bread typically costs between $0.40 and $0.80 per loaf, depending on the flour you choose. Compared to the $4.00 or $5.00 you might pay for a high-quality sourdough or artisanal loaf at a specialty bakery, the savings are massive. If you're feeding a family of five, those quarters add up fast.
Let's look at a basic cost breakdown for a standard recipe using King Arthur Baking Company All-Purpose Flour and basic yeast. Most of these items are staples you likely already have in your pantry.
| Ingredient | Typical Quantity | Estimated Cost |
|---|---|---|
| All-Purpose Flour | 3 cups | $0.45 |
| Warm Water | 1.5 cups | $0.00 |
| Active Dry Yeast | 2.25 tsp | $0.25 |
| Salt | 1.5 tsp | $0.05 |
| Total Per Loaf | $0.75 |
The catch? The initial investment is slightly higher if you don't own a loaf pan or a digital scale. But once you have the basics, your cost per loaf stays incredibly low. It's much cheaper than buying pre-made dough or frozen par-baked loaves. If you're already buying staples like flour, you might want to check out my guide on 6 cheap grains to keep in your pantry to see how to diversify your baking beyond just white flour.
What Are the Basic Tools Needed for Home Baking?
You don't need a professional-grade stand mixer or a fancy convection oven to bake delicious, crusty bread. Most of the heavy lifting can be done with inexpensive tools you probably already own in your kitchen drawer.
If you're just starting out, don't let the "bread enthusiasts" on social media intimidate you with their $500 bread machines. You can make incredible loaves with these basics:
- A Large Mixing Bowl: Glass or stainless steel works best.
- A Digital Kitchen Scale: While you can use measuring cups, weighing your flour is the best way to ensure consistency (and avoid that "brick" texture).
- A Standard Loaf Pan: A 9x5 inch pan is the industry standard for a single loaf.
- A Wooden Spoon: For mixing the dough before it gets too thick.
- Plastic Wrap or a Damp Kitchen Towel: This is vital for letting your dough rise without drying out.
If you want to get a bit more advanced, a Dutch oven is a great addition. Using a Dutch oven allows you to trap steam, which creates that professional, crispy crust you see in bakeries. However, for a simple sandwich bread for school lunches, a basic loaf pan is more than enough.
The Simple No-Knead Method
I used to be intimidated by bread. I thought you had to spend twenty minutes punching and folding dough until your arms ached. That isn't true anymore. The no-knead method is a lifesaver for busy moms. It relies on time rather than physical labor to develop the gluten structure.
- Mix: Combine your flour, water, yeast, and salt in a bowl. Stir until it's a shaggy, sticky mess.
- Rise: Cover the bowl and let it sit on your counter for 12 to 18 hours. Yes, you can mix this before you go to bed and bake it the next morning!
- Shape: Gently fold the dough onto a floured surface. It will be sticky—don't panic.
- Second Rise: Place the dough in your greased loaf pan and let it rise for another hour.
- Bake: Pop it in a preheated oven at 375°F (190°C) for about 30-35 minutes.
That's it. No intense kneading required. It's almost foolproof. I've had days where the kids are cranky and I'm exhausted, and knowing I can just stir a bowl and let the clock do the work makes a huge difference.
How Can You Store Homemade Bread to Keep It Fresh?
Homemade bread lacks the preservatives found in commercial brands, so it won't stay soft on your counter for two weeks. However, if you store it correctly, it can stay fresh for several days or even weeks in the freezer.
Here is my go-to strategy for managing bread in a busy household:
- Countertop Storage: Once the loaf is completely cool (this is important—don't wrap it while it's still warm!), put it in a paper bag or a reusable bread box. This keeps the crust from getting too soft while allowing some air circulation.
- Refrigeration: I actually recommend against putting bread in the fridge. The cold temperature can actually cause the starch to crystallize and make the bread go stale faster.
- Freezing: This is the secret weapon. Slice your loaf once it's cooled, put the slices in a heavy-duty freezer bag, and squeeze out as much air as possible. You can pull out exactly what you need for a single piece of toast or a sandwich.
When you're ready to eat, just pop a frozen slice directly into the toaster. It tastes just as good as if it were fresh-baked. This is a great way to prevent waste, especially when you're working with a tight weekly budget.
If you find yourself with leftover bread that's starting to get a bit hard, don't toss it! You can turn it into homemade croutons or even bread pudding. It's all about making sure nothing goes to waste in your kitchen. Speaking of avoiding waste, if you have leftover scraps from your vegetable prep, remember you can make your own vegetable broth from scraps to keep your kitchen running efficiently.
Making bread is a skill that pays dividends—literally. It's a small, repeatable win that makes you feel more capable and keeps more money in your bank account. Start with a simple white loaf, and once you get the hang of it, you can experiment with adding seeds, herbs, or even honey. Your family will thank you for the real food, and your wallet will thank you for the savings.
Steps
- 1
Mix your flour, water, yeast, and salt
- 2
Knead the dough until smooth and elastic
- 3
Let the dough rise in a warm spot
- 4
Shape the loaf and bake until golden brown